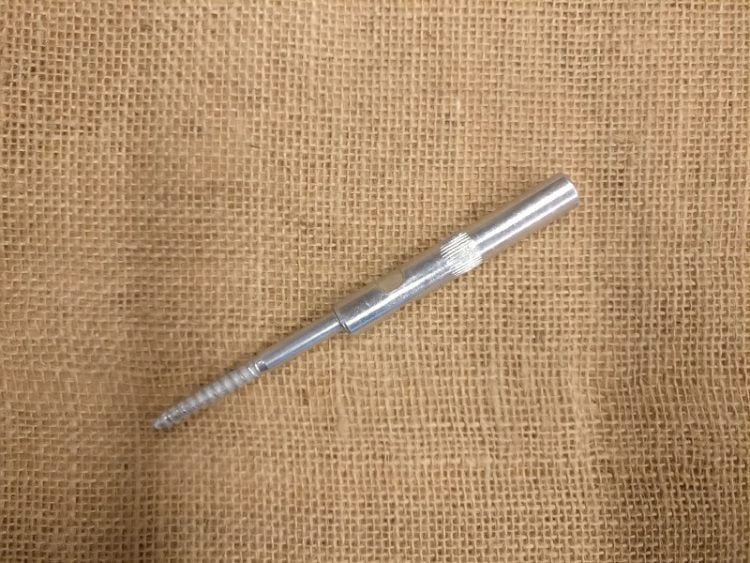
This guide details how to install a beam mantle with a straight bracket. You can buy some using the product links below if you haven’t already. If you have not bought your oak beam mantle yet, you can purchase some from our website too.
Oiling your Beam Before Installing
- Please use a dry cloth or rag (not supplied) to spread/rub the oil thinly over your shelf/beam. Rubio Monocoat brand oils only require 1 coat.
- Once the oil is evenly spread – take a clean cloth and wipe off any excess oil with a polishing action.
- Leave the beam/shelf dry for 24 hours and you’re done.
Video Guide
Please note – YouTube video mentions 13mm timber drill bit. Please use 12mm and then drill larger if needed
Step-by-Step Oak Beam Straight Bracket Installation
Step 1
Using a spirit level, draw a straight level line on your wall where you intend the shelf/beam to hang – Draw the line the same length as the shelf and mark the centre point (this will be the centre of your beam). Your next steps depend if you are fixing to a stud wall or a solid wall.
Step 2a — Fixing to a Stud Wall
If you’re fixing to a stud wall, it is important to find the uprights/noggins behind the plasterboard and get as many fixings as possible into the stud work (Professional advice should be taken for this and the weight of your beam considered)
Mark where the brackets need to be on the wall and transfer these measurements onto the beam.
Step 2b — Fixing to a Solid Wall
Draw a straight line down the middle of the side of the beam you intend to put against the wall, then mark the centre of the beam. Measure out from the centre evenly each way and mark where your brackets will go. Transfer these measurements onto the straight line you have drawn on the wall.
Step 3
Using the 12mm drill bit, drill into the beam just slightly longer than the length of the brackets (excluding the threaded part) – it is important to drill these holes straight and level.
Step 4
Using the 10mm drill bit, drill a 70mm deep hole into each of you bracket markings on your wall keeping the drill straight and level – tap the rawl plugs into the holes, they should be flush with the wall.
If you are fixing into timber stud work it is possible to screw the brackets straight in to the timber with maybe a small pilot drill hole
Step 5
Using the 10mm spanner screw the fixings into the wall. Don’t tighten all the way, the washers are optional and increase the load capacity of the shelf however they will leave a small 1.5mm gap behind the shelf / beam.
Step 6
Gently Slide the shelf/beam onto the brackets ¾ of the way on so that you can still fit a 10mm spanner behind it.
Step 7
Place the spirit level on the shelf /beam and adjust the brackets with the spanner until the shelf is perfectly level. The threaded part of the bracket is positioned off centre the steel rod section enabling you to adjust the position of each bracket.
Step 8
Finally, slide the shelf/beam all the way back flush against the wall and you’re done!
